I received my Raspiblitz node. It’s an out-of-the-box Raspberry Pi bitcoin node with Lightning support. As I’ve said in another post, I believe it’s the best project out there for many reasons. They’re open source, they educate people, they host events, they’re actively developing the Lightning network (Which still sucks donkey balls.)

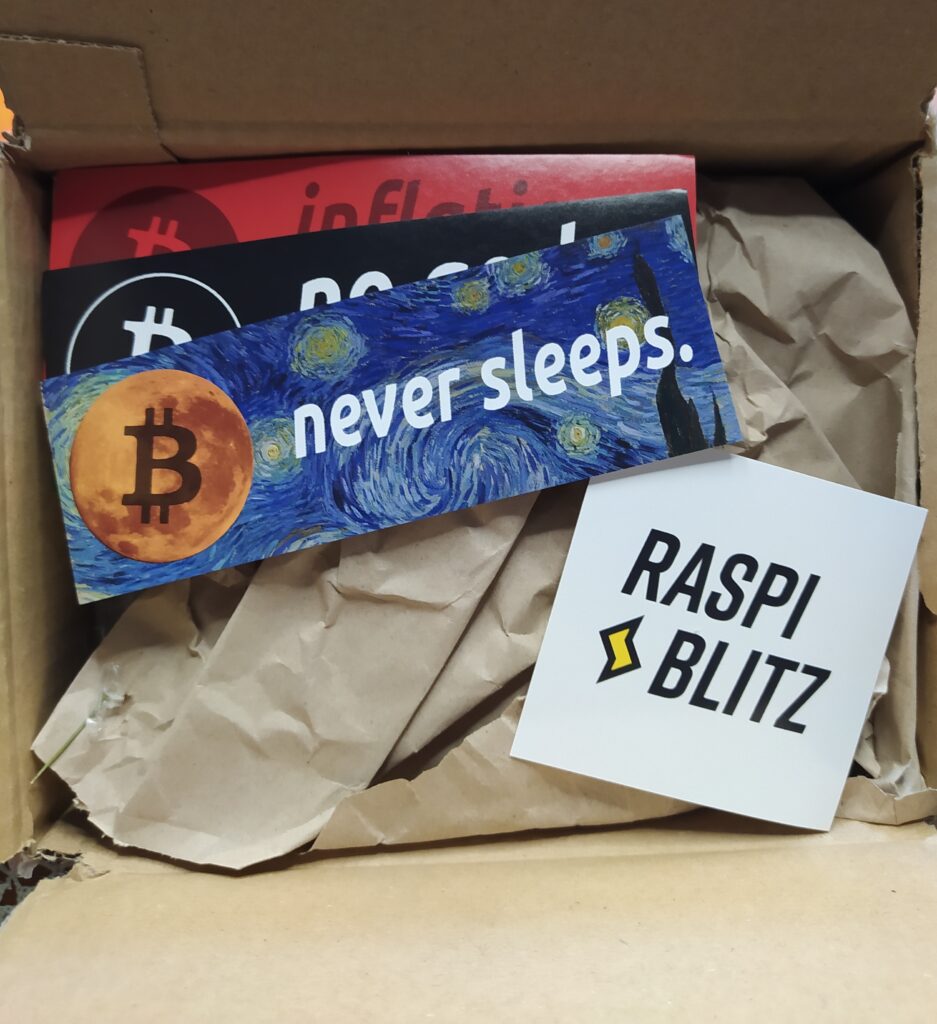
The unboxing was pretty simple. Everything is neatly packed in there. The package feels robust, the precious Raspberry Pi came in bubble wrap. I got some cool stickers from it. I’m still thinking where I’ll stick them.

The package was a bit Spartan. Raspberry Pi was already latched onto the golden heatsink, which is too white for my taste. I wanted it more yellow and shiny. Oh well… Cables for Ethernet, a power adapter. The memory card came already loaded with Raspiblitz software. I didn’t tamper with that. There are instructions on how to verify the hash on github but I’m not gonna pretend to know how to do that. I could definitely figure it out, but since I got it without the preloaded blockchain and I know for a fact that it takes more than 2 days to sync, I was eager to just get it plugged in.

So, yeah. Where to start?
There are no instructions, like anywhere. I know it’s DIY but I could use a simple piece of paper saying, “Hello, this is how to set up your Raspiblitz.”
So on to the website.
The website tutorial is here https://openoms.github.io/bitcoin-tutorials/
If you’re eager like me you’ll scroll up and down looking for steps to follow. There aren’t any, at least not for initial set up. Instead there’s an easy to miss link at the very beginning:
Start at https://github.com/rootzoll/raspiblitz
Well, duh.
For those unfamiliar with github it looks daunting at first glance. All that code, forking, unfamiliar terminology. Fear not, ’cause under each project there’s usually a very verbose tutorial underneath. Just scroll down, and you’ll find something like this:
Assemble your RaspiBlitz
When you have all parts you need to:
- Assemble the Heatsink-Case on the RaspberryPi (follow the instructions in package).
- Put the SSD/HDD into the Case and connect it per USB to the RaspberryPi
- Add the display on top with the pins like in picture below.
- Plug in the network cable.
A-ha!
Finally. Well, I’ve done that already, I’m not an idiot. Moving on.
So I booted Raspiblitz, and met with a login screen.

I admit I had to google how to do that. In retrospect, I kinda already knew how to ssh in, but it’s been years since I’ve tinkered with networks. Just search for cmd, start the command line, type ssh admin@ the IP address it tells you. And at the password prompt, the default password is raspiblitz.
You just wait and follow the instructions from that point on.
There’s a prompt to set up four passwords:

So I set those up, followed the instructions, waited, did a reboot, ssh back in, I think there were some prompts and options around there. There are explanations on the github tutorial about what those are, for example selecting Tor support or not. And then you select if you want to load a blockchain or just download it. I do have a copy of the blockchain on my computer but the instructions to copy it seemed bothersome so I just selected the option to download it again.
It takes 2+ days to sync, mind you. Since this is a node that I plan to run long-term, I decided to let it do its thing. It’s the reason I chose the Raspberry Pi with the larger RAM. It doesn’t really need for now it but I looked it up, you can’t upgrade it, it’s soldered into the board, and while it doesn’t affect the bitcoin node, it might be able to handle more lightning network traffic in the future. Also, as the blockchain gets larger in filesize, it will definitely help the node keep up in a few years with no further upgrades. The SSD of course can be upgraded with ease.
So, yeah. That’s the node from Fulmo. It’s a solid installation. It does run a bit hot for my tastes so I put up a USB fan to cool it. It’s cool now at around 33 degrees Celsius. We’ll see how well it fares during the Greek summer, but I think with the fan on it’ll be fine.
I plan to set up the Lightning node on it. When I do, I’ll add the address here on the blog so you can use it too.


0 Comments